Devlog Part 1 - Initial setup on Windows
This is a guide for installing Ruby and the Jekyll package on Windows 11. This is the first step towards setting up a devlog for programming projects hosted on Github Pages.
Github Web
First we must check if we are logged in to Github on our web browsers by visiting the Github website.
Github Desktop
Since we will be using the GUI client for git, make sure you have GitHub Desktop installed and that it is logged in to the same account as the previous step.
RubyInstaller with MSYS21
Since Jekyll projects require Ruby to be installed on the System, our first installation requires us to use RubyInstaller. Be sure to pick the latest version that includes Devkit.
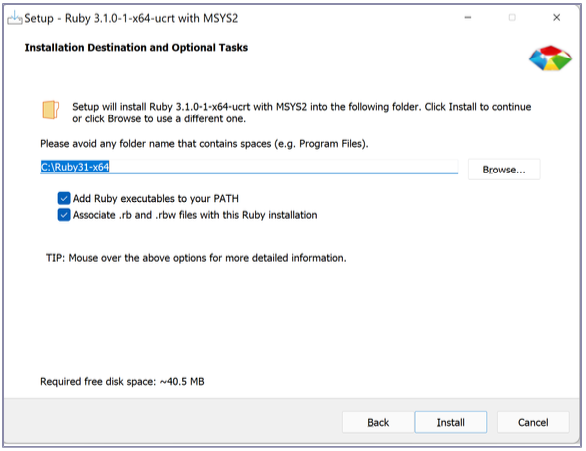
After you click Save/Download, click Run and then click OK. Select “I accept the License” and then click Next. Ensure “Add Ruby executables to your PATH” is selected, and click Install.
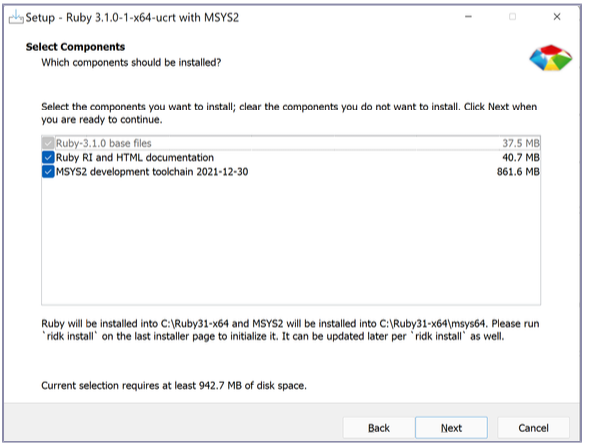
Next you will need to select the components to be installed. Ensure that the MSYS2 development tool chain is selected. Click Next. See the following screenshot:
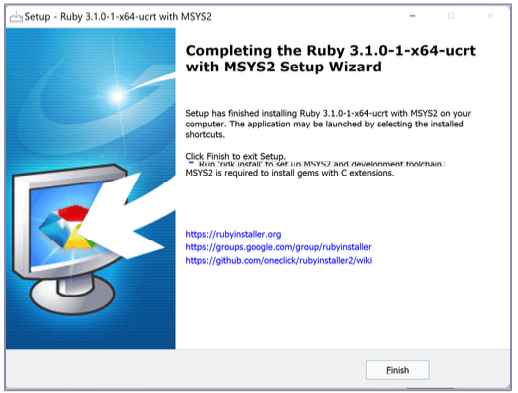
When you see the following screen, you’ll be done with the first part of the installation. Click Finish to proceed to the next and final part.
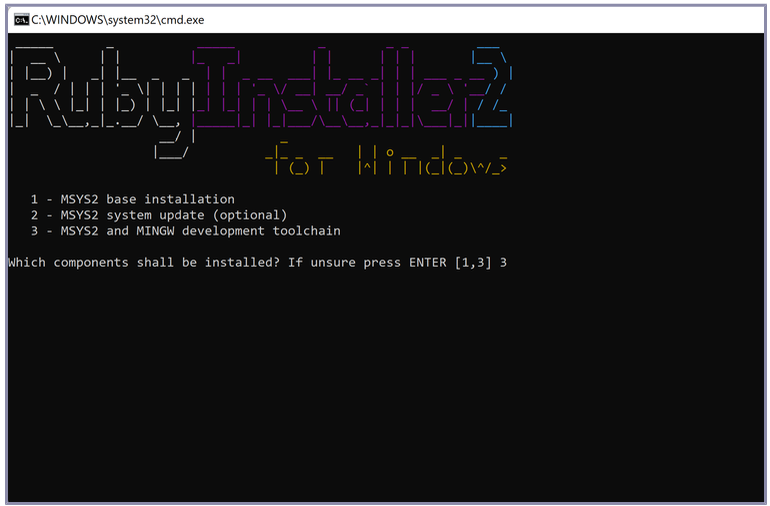
The next screen installs the development toolchains. Select option 3 and press Enter. This will take a while and ultimately prompt you again for which tools to install. The second time you’re prompted, press Enter and the window will be dismissed.
From the Windows start screen you’ll be able to find an app named Start Command Prompt with Ruby:
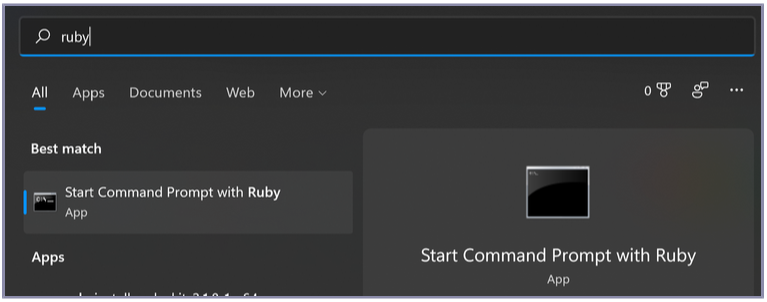
To verify that Ruby was installed successfully enter the following command at the prompt:
ruby -v
Command Line git Configuration
In case you do not have a command line git installation, we can easily install the program through the official git download page.
Once the installation is completed and using the terminal opened in the previous step, we will adjust the user.name and user.email properties as follows:
$ git config --gloabl user.name "John Doe"
$ git config --gloabl user.email johndoe@example.com
Lastly, we will upgrade our RubyGems installation:
$ gem update --system
This concludes all the preliminary installations. We are now ready to create the Github repository and begin coding our devlog.
A New Github Repository
Create a new public repository named username.github.io where username is your username on Github.
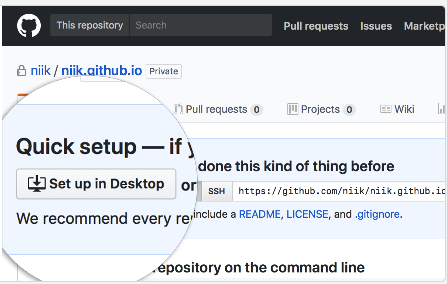
Clone the repository
Click the “Set up in Desktop” button. When the Github desktop app opens, save the project.
Create the first file
For the first file, we created a README.md file with the following contents:
# Devlog

This is the devlog for the 2024 Congressional App Challenge.
Commit and Publish
Enter the repository, commit your changes, and press the publish button.
Conclusion
With all these steps completed you are now ready to begin setting up a Jekyll project for the devlog.
Next: Part 2 - Github Pages Deployment
Footnotes
-
This RubyInstaller guide has been adapted for educational purposes from Agile Web Development with Rails 7 by Sam Ruby and Dave Thomas. All rights belong to their respective authors and The Pragmatic Bookself. ↩